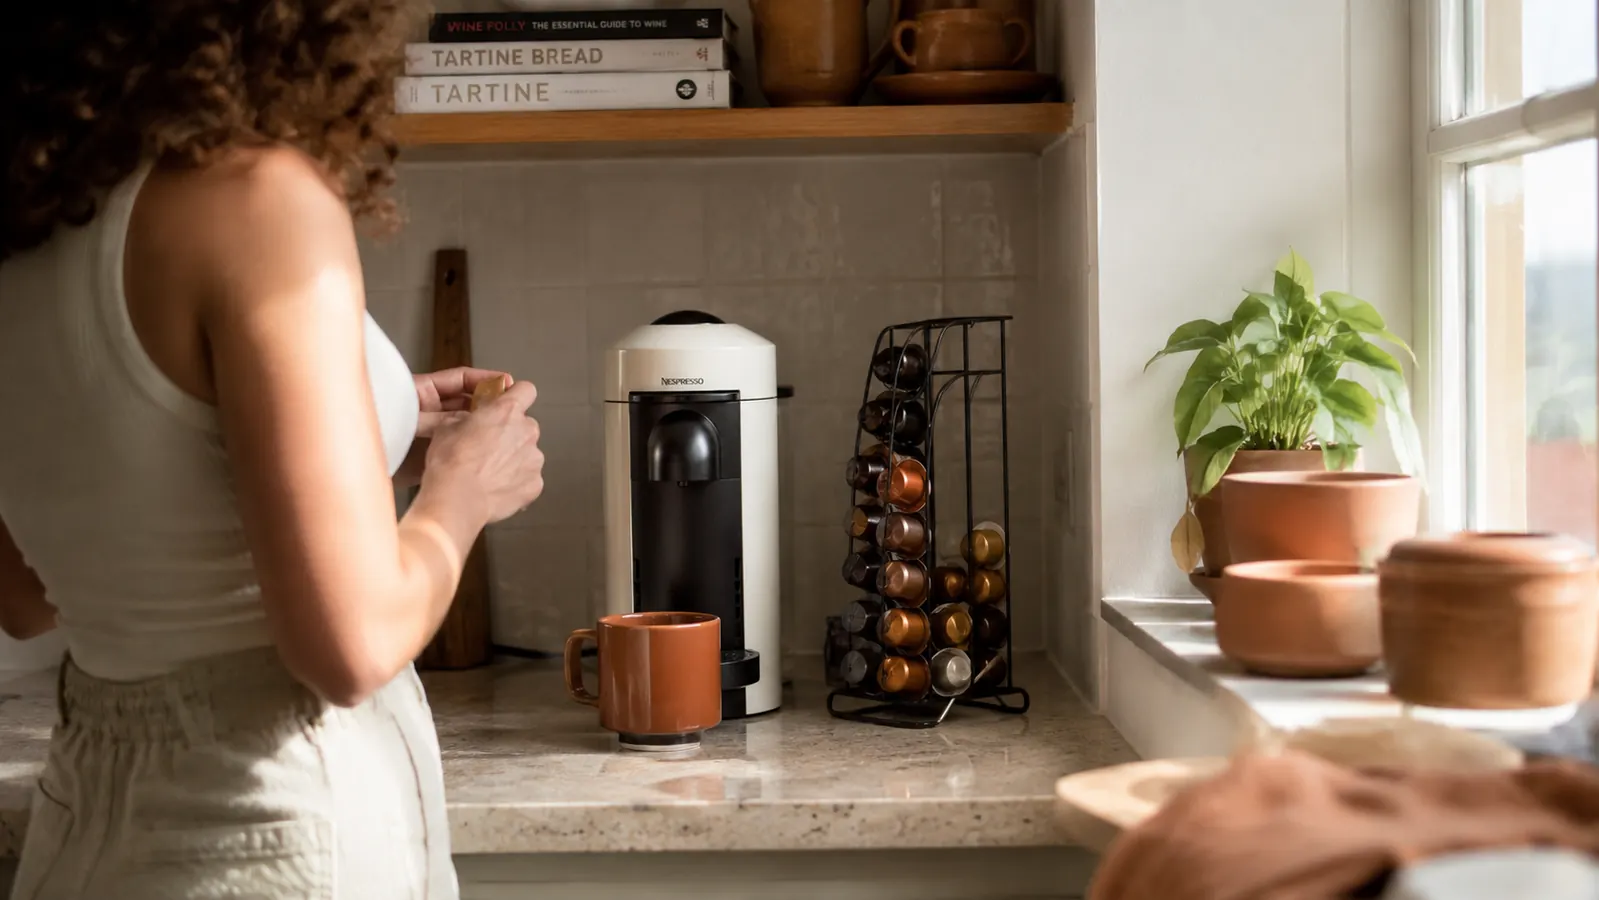
My Brooklyn kitchen has roughly 11 linear feet of counter space total. Once you subtract the dish rack, the cutting board, and whatever is currently waiting to be put away, I have maybe two and a half feet of workable surface. For years I convinced myself that meant I had to choose: real coffee or a functional kitchen. A 12-cup drip machine sat on my counter taking up a full 14 inches of real estate and making more coffee than I needed. It took me embarrassingly long to realize that was not my only option.
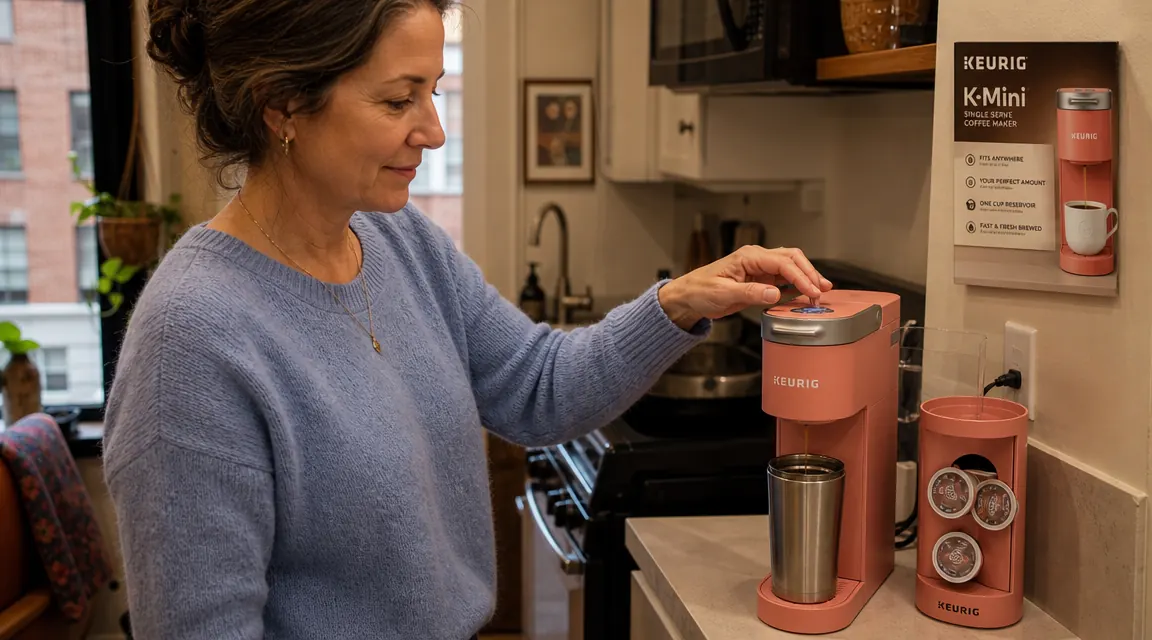
A properly set up compact coffee station can fit in 7 to 8 inches of counter width. You get hot coffee in under two minutes, no leftover pot sitting on a burner all afternoon, and no appliance squatting on your counter doing nothing for the other 23 hours of the day. The Keurig K-Mini is the machine I built my own setup around. At 5 inches wide and 12 inches tall it is the narrowest single-serve brewer on the market that consistently earns high marks for brew quality. Below is the exact five-step process I use. None of it requires a renovation or spending more than a few extra dollars on organization gear.
The brewer that makes this whole setup work is 5 inches wide and brews in under 2 minutes.
The Keurig K-Mini has 4.3 stars across more than 107,000 Amazon reviews. It brews 6 to 12 oz per cup, stores a single cup's worth of water so there is no stale reservoir sitting around, and comes in eight colors so it can match your kitchen instead of fighting it.
Amazon Check Today's Price on Amazon →Step 1: Pick the Narrowest Spot on Your Counter and Measure It Honestly
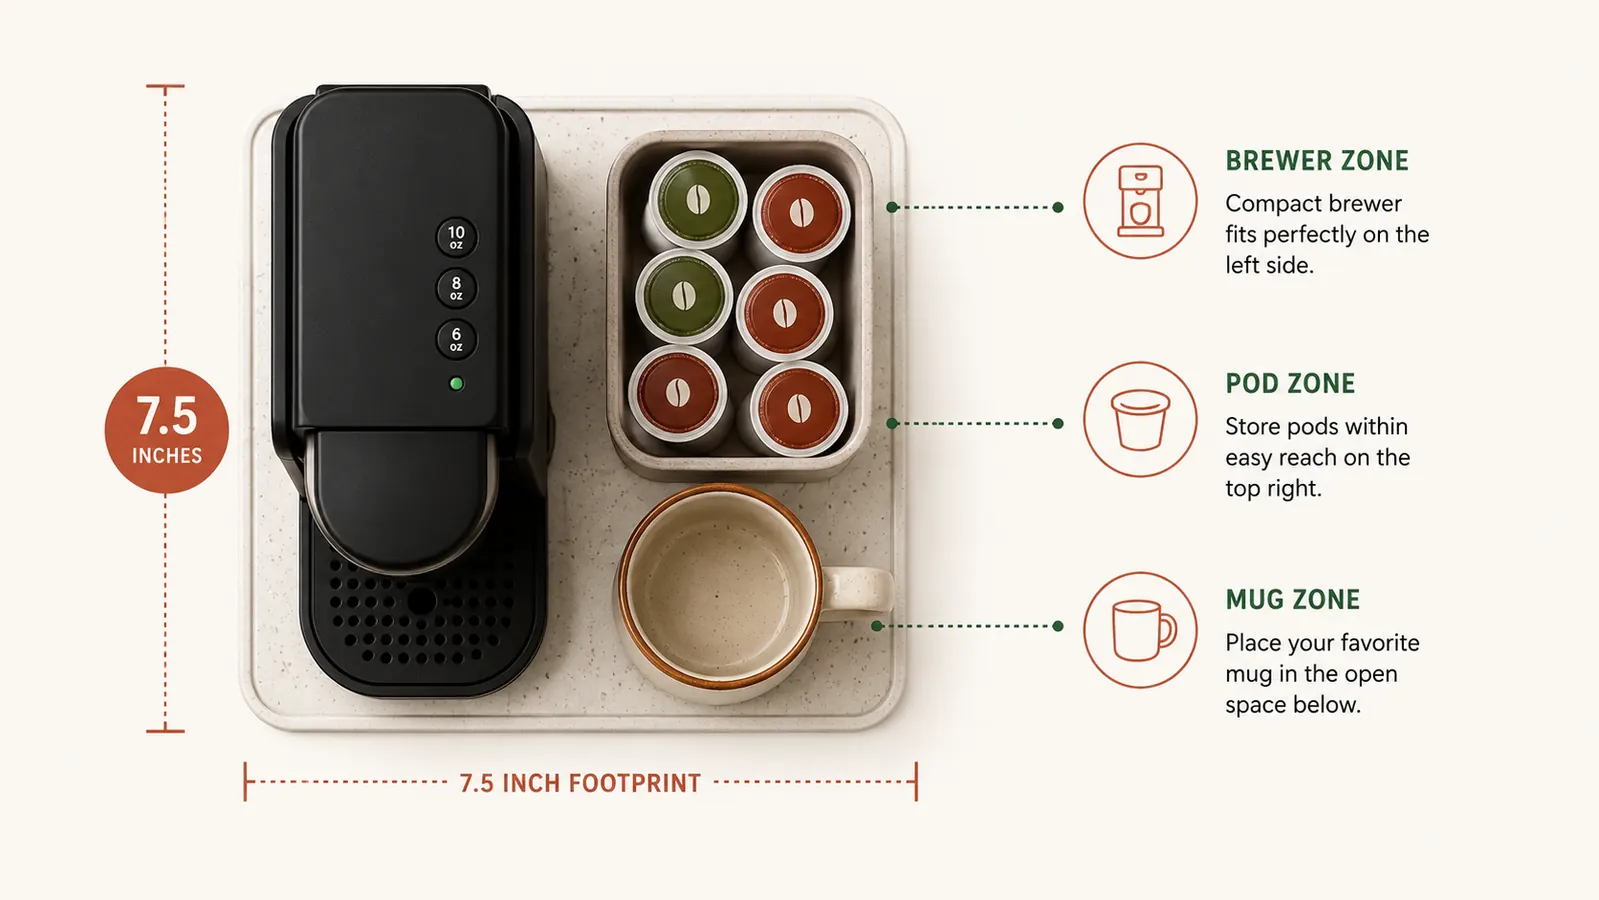
Before you buy anything, walk your kitchen with a tape measure. What you are looking for is not just width but depth clearance and what is above that spot. The K-Mini needs about 13 inches of vertical clearance to open the pod holder without hitting the underside of a cabinet. Width-wise you need 5 inches for the machine plus whatever you plan to put beside it. I allow 7.5 inches total: 5 for the machine and 2.5 for a short cylinder pod caddy that holds 12 K-Cups.
The spot I chose is the far right end of my counter, tucked against the wall. It was previously occupied by a cutting board I kept there out of habit, not necessity. Moving the cutting board to a cabinet hook freed up exactly the footprint I needed. The key insight here is that the coffee station does not have to live in the middle of your counter where it gets in the way of everything else. Corner placement or end-of-counter placement works better because you approach it from one side and it stays out of your main prep zone.
Also check your outlet situation before committing to a spot. The K-Mini has a 28-inch cord. That is enough to reach a standard outlet without an extension cord in most layouts, but it is worth confirming before you drag furniture around. If your nearest outlet is across the kitchen you will either need a power strip or a different counter zone.
Step 2: Ditch the Water Reservoir Logic and Use a Fill-Per-Brew Workflow
One of the underrated advantages of the K-Mini in a small space is that it has no reservoir tank. It holds exactly one cup of water at a time, filled from the top before each brew. For some people this sounds like a downside. In a small kitchen it is actually the right design. There is no standing water slowly going stale in a tank you have to scrub every week. There is no hose running to a water line. You fill it, you brew it, done.
The workflow I landed on: a small glass measuring cup lives on the counter immediately next to the machine. When I wake up I fill the measuring cup at the sink, walk it two steps to the machine, pour it in, drop in my pod, and hit brew. Total active time is about 20 seconds. While it brews I do whatever I normally do in the morning. This fill-per-brew routine also makes it easier to control your cup size precisely. Filling to the 8 oz line versus the 12 oz line produces noticeably different coffee strength, and you develop a feel for it fast.
Step 3: Solve Pod Storage Without Surrendering a Cabinet
Pod storage is where most small-kitchen coffee setups fall apart. People buy a large carousel that takes up as much space as the brewer itself, or they leave pods in the box they came in and the box takes over a drawer. Neither works long-term. The storage solution I recommend is a small cylindrical pod caddy that holds 10 to 12 pods and sits beside the machine on the counter. The footprint is roughly the size of a large coffee mug and the pods are right there when you need them. Look for one that is 3 to 4 inches in diameter and 5 to 6 inches tall.
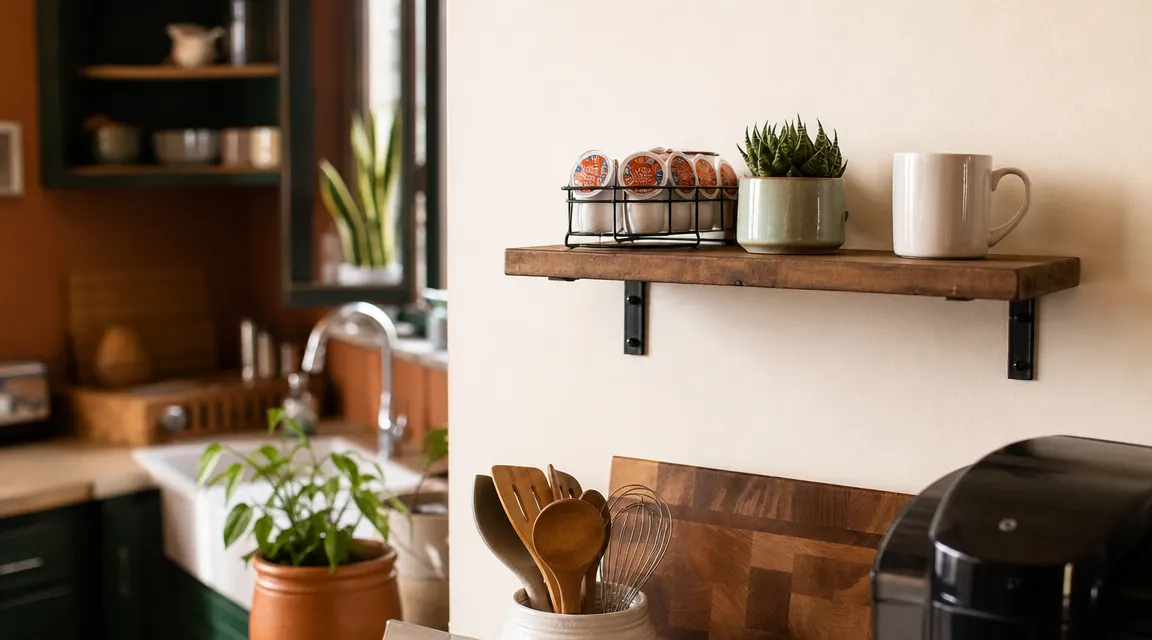
If counter space is genuinely maxed out, consider a wall-mounted pod rack or a narrow floating shelf mounted directly above the coffee station. A shelf that is 4 inches deep and 12 inches wide holds a small pod rack, a spare mug, and a tiny plant with room to spare. It takes about 20 minutes to install with two wall anchors and keeps everything vertical instead of horizontal. Vertical storage is the single best principle for a small kitchen: if it cannot earn floor or counter space, it earns wall space.
Step 4: Edit Your Mug Collection Down to What You Actually Use
This step sounds like it has nothing to do with setting up a coffee station, but it affects how the whole setup functions. If you have 12 mugs and they are all stacked in one cabinet, retrieving your morning mug involves moving three other mugs out of the way before you can brew. In a tight kitchen that friction adds up. The fix is to keep one or two mugs within arm's reach of the brewer and store the rest elsewhere.
I keep a ceramic mug on the counter to the left of the machine, where it also catches any drips during the brew cycle. A travel mug hangs on a small adhesive hook on the side of the cabinet above. That is it for the active station. The rest of my mugs live in a cabinet across the kitchen and come out for guests. This sounds like a minor thing but removing the daily friction of hunting for your mug in a crowded cabinet changes how pleasant your morning routine feels.
The question I ask about every piece of equipment in my kitchen is whether it earns its counter inches. The K-Mini earns them six ways to Sunday. It does one thing, it does it fast, and when it is done it just stands there looking tidy.
Step 5: Run a Weekly Two-Minute Maintenance Routine to Keep the Machine Reliable
The K-Mini is a low-maintenance machine but it needs two things regularly: needle cleaning and descaling. The needle that punctures the K-Cup pod can clog with coffee grounds if you use fine-ground pods or reusable cups. Keurig includes a cleaning tool with the machine, but you can also use a straightened paper clip. Once a week, with the machine off and unplugged, open the pod holder and run the tool through the needle from both sides. Takes 90 seconds and prevents the single most common reason the machine stops brewing properly.
Descaling is a seasonal task in most households, though Brooklyn tap water is harder than average so I do it every two months. Use the Keurig descaling solution or a half-and-half mixture of white vinegar and water. Run it through a brew cycle without a pod, then run two cycles of plain water to rinse. The whole process takes about 20 minutes of intermittent attention and noticeably improves brew temperature if you have been skipping it. Machines that are not descaled regularly brew cooler than they should, which is often why people complain their K-cups taste weak.
What Else Helps Your Coffee Station Work Better
A reusable K-Cup filter is one of the cheapest upgrades you can make to a single-serve setup. The Keurig My K-Cup Universal filter lets you use any ground coffee rather than buying branded pods, which cuts your per-cup cost significantly and lets you use better beans. It fits the K-Mini and rinses clean in about 10 seconds under the faucet. If you buy one thing beyond the machine itself, make it this.
A small silicone drip mat under the machine protects your counter from the occasional splash and wipes clean in seconds. At 6 by 8 inches it adds no visible bulk but saves your counter finish from the mineral staining that happens over years of daily use. Small details like this are what separate a setup that looks good after three months from one that looks beaten up.
Finally, consider whether the machine belongs on the counter at all during hours you are not using it. If you have a deep pantry or a cabinet shelf with 13 inches of clearance, the K-Mini stores and retrieves in about 15 seconds. For a kitchen where counter space is truly critical, storing the machine between uses and pulling it out only for the morning routine is a completely viable strategy. The water-per-brew design means there is nothing to drain before you store it. You just unplug it and slide it in.
The complete setup I use costs nothing beyond the machine itself if you already have a mug and a measuring cup. The pod caddy runs about eight dollars. The adhesive hook for the travel mug is a dollar. The floating shelf, if you go that route, is under twenty dollars at any hardware store. This is a low-cost, high-impact kitchen upgrade that pays for itself in the first week just by getting a bulky appliance off your counter.
Ready to build your own compact coffee station? Start with the brewer that makes the whole setup work.
The Keurig K-Mini is 5 inches wide, brews in under two minutes, and comes in eight colors. With 107,000+ reviews and a 4.3-star rating, it is the single most reviewed compact coffee maker on Amazon. Check current pricing and availability below.
Amazon Check Today's Price on Amazon →